My younger half brother (MUCH younger, in fact, my favorite surprise that there ever was in the whole wide world) turned the big "8" this year. After being disturbed by how quickly time has been flying by (Are you sure he isn't turning 3? 5 MAYBE?) I started asking him the tough questions: what kind of birthday party are we having here? He was torn between "Wipe-out" and "Angry Birds". Once I got the text from my stepmom asking me to make the cake (about time, jeeze) I swayed him into an Angry Birds cake because it would look way cooler and it's spring, too cold for a full on "Wipe Out" party!
I sweetened the prize by adding on that I would make it an "Angry Birds: SPACE!!!!" cake and he was totally game. The next part of the mission was the obvious: begin scouring Pinterest. There are some seriously amazing Angry Birds cakes out there. Fo' real. My only issue was I really wanted to reflect the Angry Birds in SPACE, with their fancy face masks and capes and what have you. I had some totally awesome results:
.....and some things that went horribly wrong that I will share with the hopes that someone out there can make it TOTALLY RIGHT*
*referring to my "lollipop meltdown", below.
1.) The Characters:
The night before I started my characters, I made a batch of Marshmallow Fondant (See directions here for Marshmallow Fondant). I divided it into small batches and mixed in colors: yellow, orange, red, purple, lime green. I left the majority white. I used the fondant for noses and eyes.
For my "Angry Birds in Space" characters, I decided I wanted to make my characters out of cake balls, versus making their bodies out of fondant. Bakerella's website is where I originally learned about the art of making cake balls. Googling "Cake Balls" or "Cake Pops" can yield many helpful tutorials as well. I made my cake balls with lowfat chocolate brownies and fudge icing. After the mixture had cooled, I shaped it into the characters and planets that I wanted:
In total I had: 4 round green pigs, 3 round red birds in different sizes, 1 large green bird, 1 triangle bird, 1 square bird, 1 long "log" that I poked to look like the three little birds, 2 "planets" (round balls with divots) and 3 rectangles to "protect" the pig.
After these had cooled in the freezer for about 4 hours (I had other stuff to do, they don't need to be in there THAT long...I'm just forgetful) I busted out the white, red, and green candy melts and got my bowls melted/my dip on. For the other colors, I used Wilton food dye in the white melts. I used Wilton's Edible Ink Pens for the eyes and pig nostrils, and at the last minute I made some fondant eggs.
2.) The Lollipop Meltdown:
I had this BRILLIANT idea of making a bright blue lollipop "Orbit" to stick in around the pigs. It's part of the game, the orbit...anyway, it would look TOTALLY awesome but I had never dabbled in candy making (I made caramel for the first time on Easter and this was about a week later...not much time to hone my skills). Instead of adding color AND a flavor (I had no fruit flavors on hand, just vanilla and almond), I added a packet of Kool aid. First Round, I added "Fruit Punch" (I was in a rush! The packet was blue!) and I got red:
I added lots of blue food coloring, but it was a lost cause and I think the excessive coloring made it not set well. Besides, I had no mold and I was winging it. There was purple (red +blue=purple!) lollipop crap everywhere! For round two, I got more serious. I made a mold out of aluminum foil (My brilliant boyfriend's idea! Where was he the first time around?) and found the berry blue KoolAid right next to the Fruit Punch.
So, I made it, it cracked when I peeled off the foil, I ran it under SUPER hot water and molded it into shape again but it was never strong enough to stand alone at room temp. I hope someone figures this out, I encourage you to make it!
3.) The Cake:
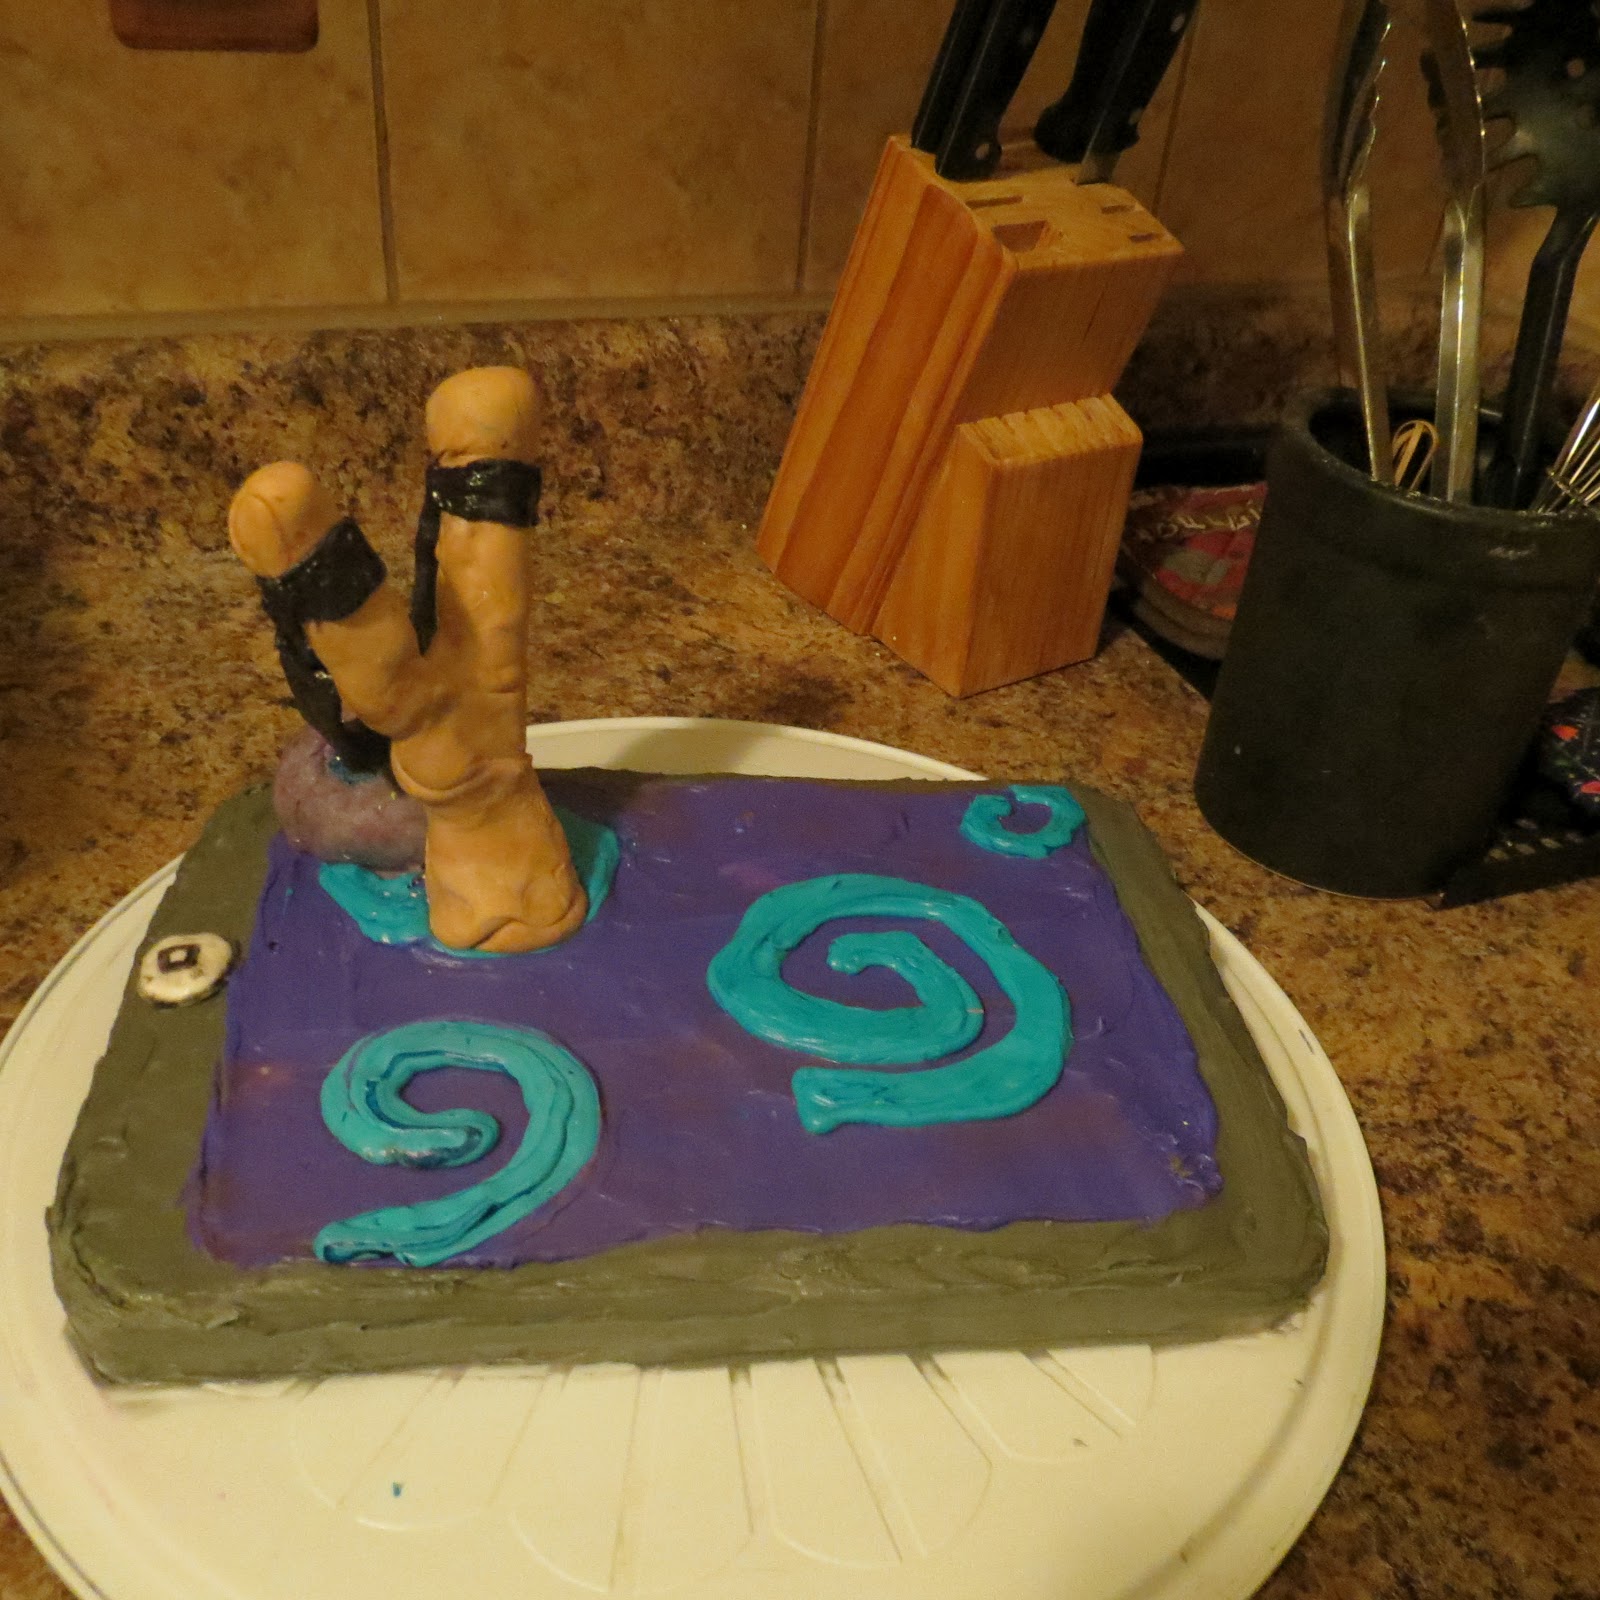
The cake was a dense white cake recipe called Nany's White Cake. I made it in a rectangular cake pan (I don't know the measurements of the pan, whoops!) shaped like an Iphone. I then iced it to look like an Iphone playing the game (I saw this online somewhere and couldn't find it when re-googling! If you know where it's from, please leave a link, it ruled!).
The slingshot was made from two long lollipop sticks haphazardly wrapped in majority of my fondant colored brown, and I made a black fondant sling. I didn't realize how HUGE it was until after I made it, and I was too lazy to rip it apart and change it. I just leaned it against the planet and called it "adding character".
4.) All Together now....
After everything was shaped, colored, given a face, and TRANSPORTED to the party (the scariest part), I popped it all together (I kept the characters off, assuming they'd all fall and smear the icing while I drove...like this pile of mini cupcakes I added from the freezer at the last minute to hold a little "Angry Birds in Space" Printout I had cut off their logo picture and taped on to a toothpick (is it copyright infringement if its for personal use and not for profit? I hope not!)
I would like to note that I left off everyone's head tuft of hair, as well as their cute little ears! I have a tendency to get way ahead of myself and tack on too many tasks and I forget the important stuff like ears! I hope you enjoy it anyway, I did and so did my brother! =) 
I hope this helps your next Angry Birds bash! I'm going to add a supplementary tutorial on making an Angry Birds Pig Pinata in like 2 hours or less for under $10 (how lazy am I? Awesomely lazy!) Thanks for stopping by!